Text to Image
Use text to image when the idea begins as words. Define the asset, subject, composition, visual treatment, lighting, text, and destination format. The model can invent the scene without being tied to an existing picture.

Create a new image from text or edit a reference image. Choose a model, set the image size, and improve the result in one place.
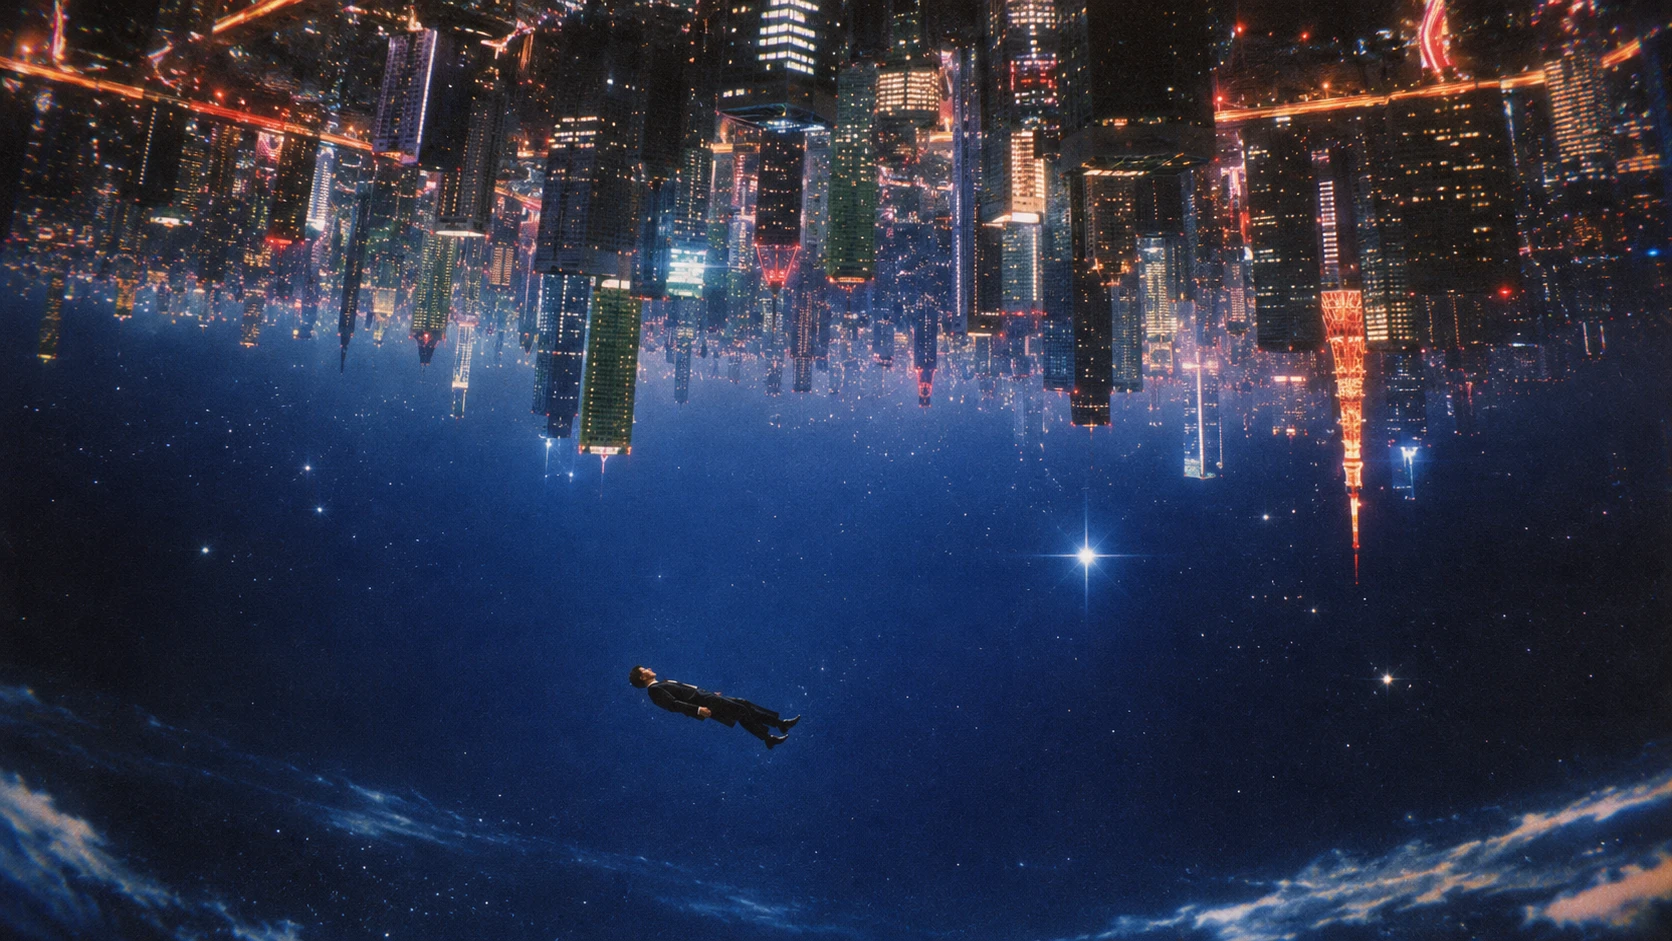
The most important decision is how much of the image already exists. Start with a text prompt when you need a new scene. Start with a reference image when a product, person, pose, layout, or visual direction must remain recognizable.
Use text to image when the idea begins as words. Define the asset, subject, composition, visual treatment, lighting, text, and destination format. The model can invent the scene without being tied to an existing picture.
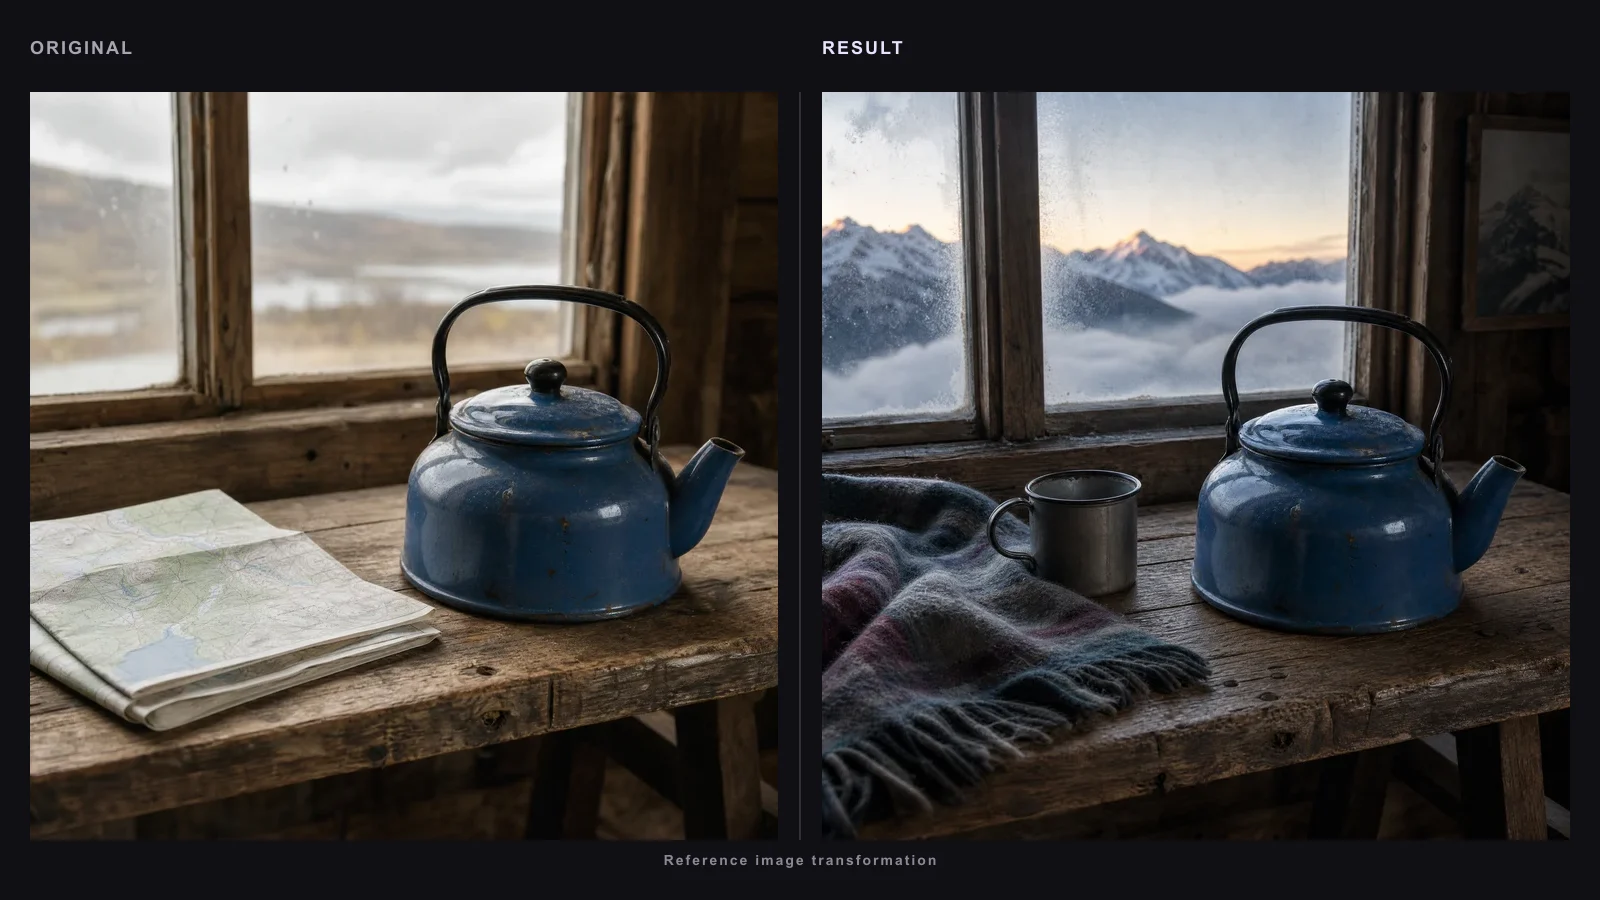
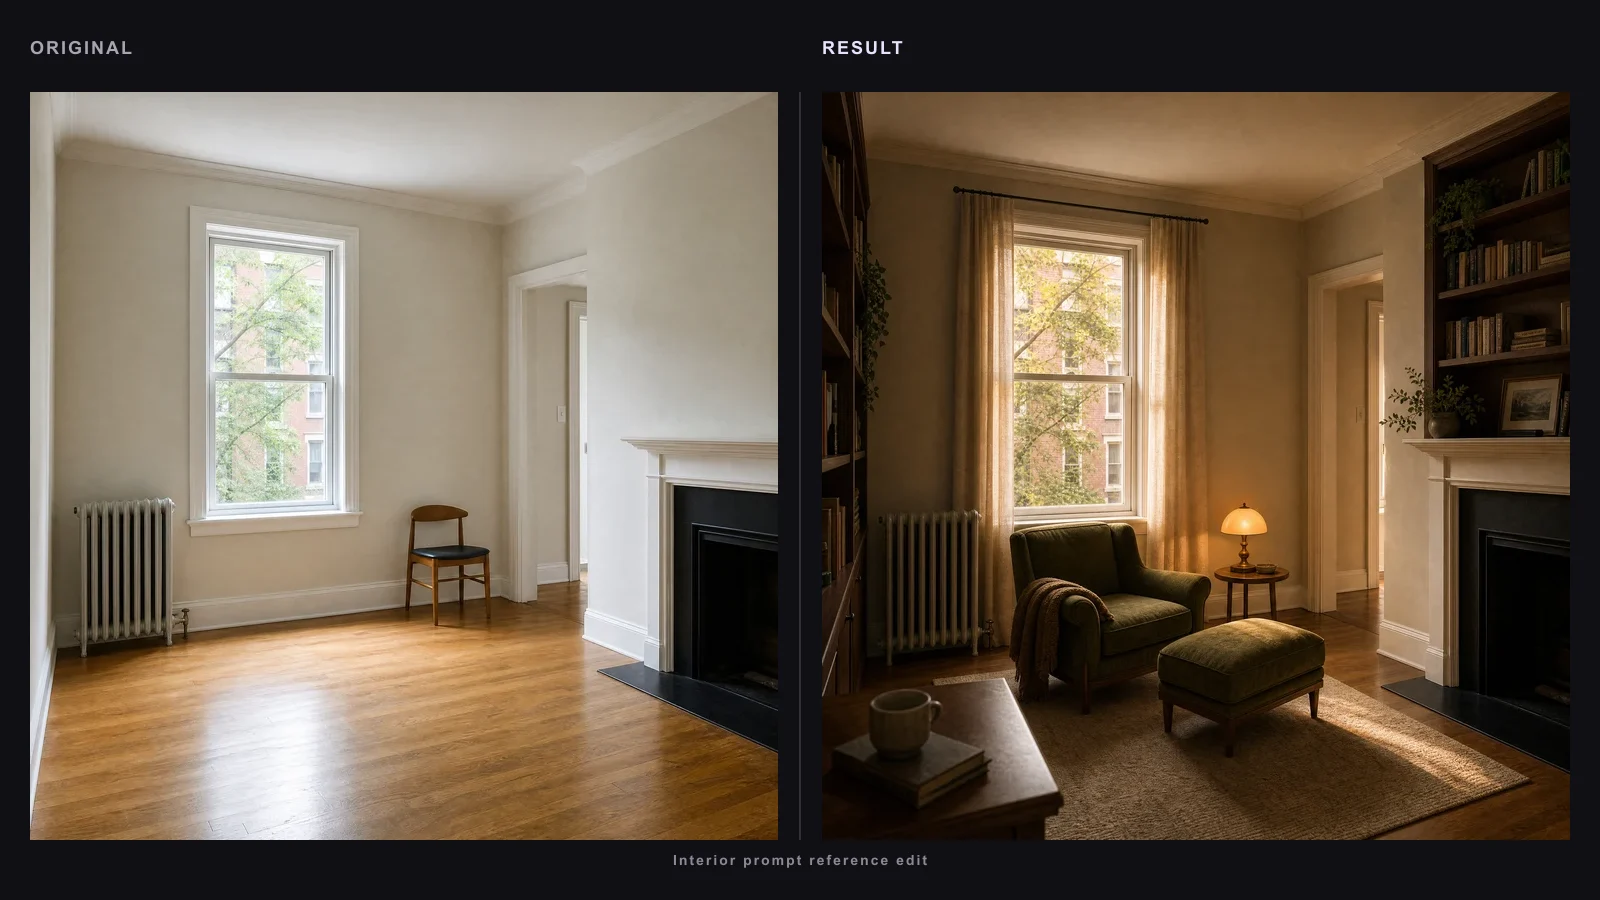
Use image to image when the source already contains something valuable. Upload the clearest reference available, identify the elements to preserve, and limit the requested change to the background, styling, lighting, pose, or layout.
Text to image gives the model a blank canvas. It works best for concept exploration, posters, thumbnails, campaign ideas, characters, and scenes where the composition can be invented from the brief.
Image to image gives the model a visual anchor. Treat the instruction as a preservation contract: state what must stay unchanged and what may change, then describe the new background, lighting, styling, or composition.
Move from a clear brief to a downloadable result in six steps. Reference images are optional, but the model, format, review, and download decisions apply to every workflow.
Step 1
Describe the asset, subject, composition, look, lighting, required text, and anything the result must avoid.
Step 2
Upload an image only when identity, product details, pose, layout, or style should guide the result. State what must remain unchanged.
Step 3
Match the model to the hardest part of the task: readable text, reference fidelity, structured layout, polish, or speed.
Step 4
Choose the aspect ratio and resolution for the real destination, such as a listing, poster, feed post, or thumbnail.
Step 5
Inspect spelling, faces, hands, logos, labels, edges, composition, and reference accuracy before accepting the draft.
Step 6
Download the selected result, then check it once more at its intended display size before publishing or handing it off.
Treat the prompt as a compact production brief. Define the asset type, subject, composition, visual treatment, and hard constraints in that order; for edits, add an explicit list of what must remain unchanged.
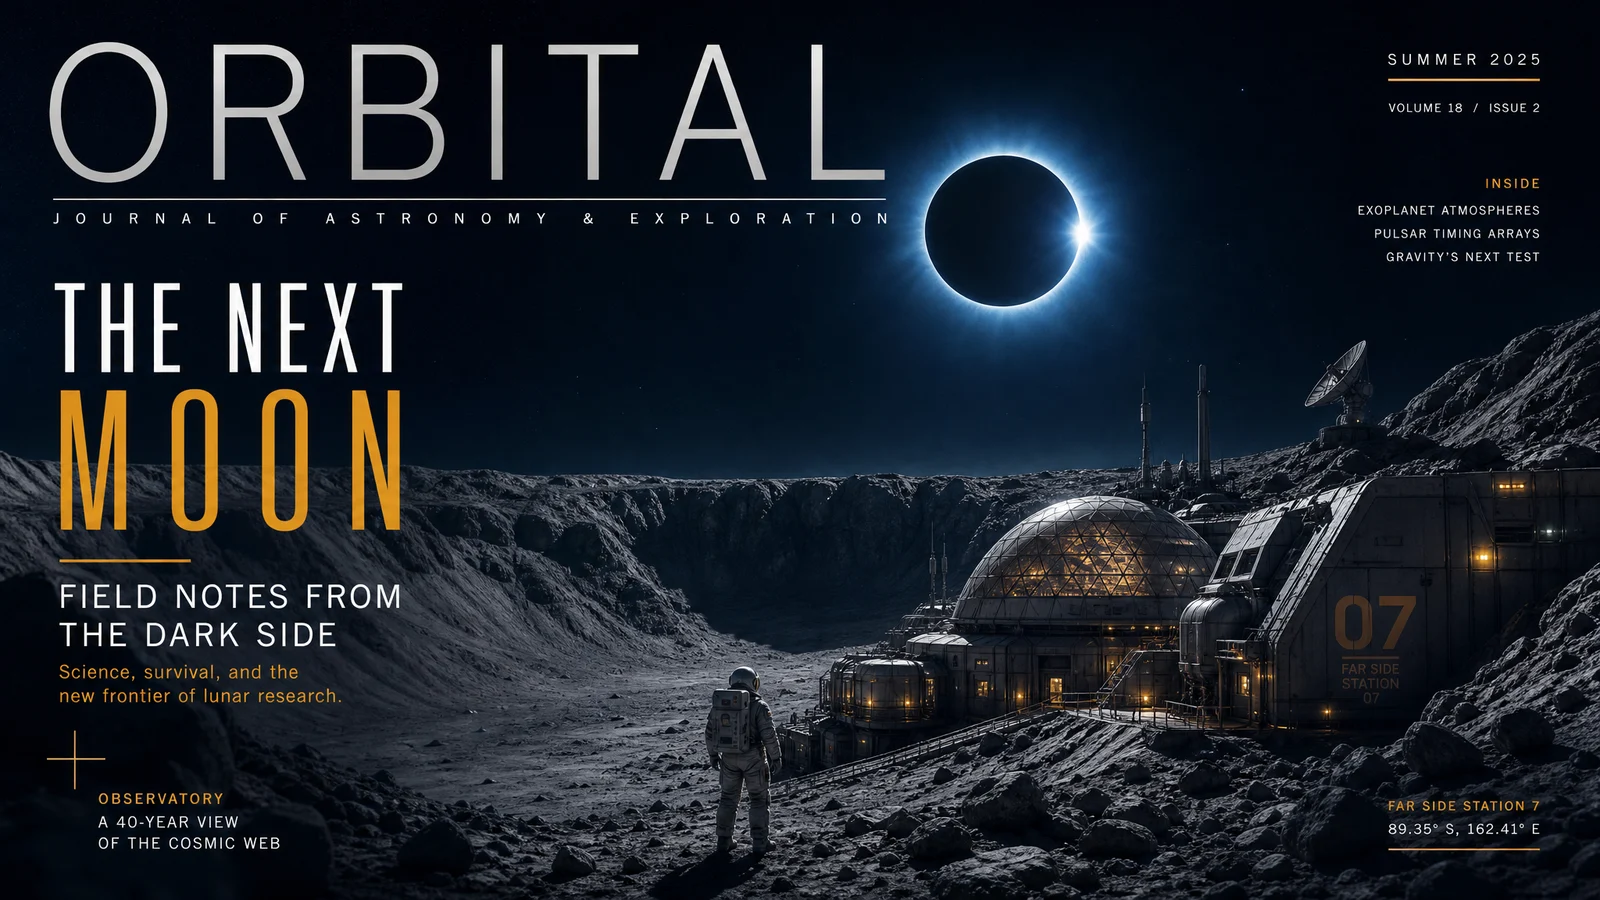
Create a 4:5 product launch key visual for a fictional citrus drink. Place one can in the center on a reflective surface with sliced fruit in motion. Use soft side light, a deep blue background, and premium commercial photography. Reserve clean space above the product for the exact headline "FRESH SPARK". Keep the label readable and do not add extra cans or text.
Create a 16:9 YouTube thumbnail about five creative tools. Show one expressive creator portrait on the right and three simple interface panels on the left. Use bright edge lighting, strong foreground separation, and the exact short title "5 TOOLS I USE". Keep the composition legible at small size and avoid background clutter.
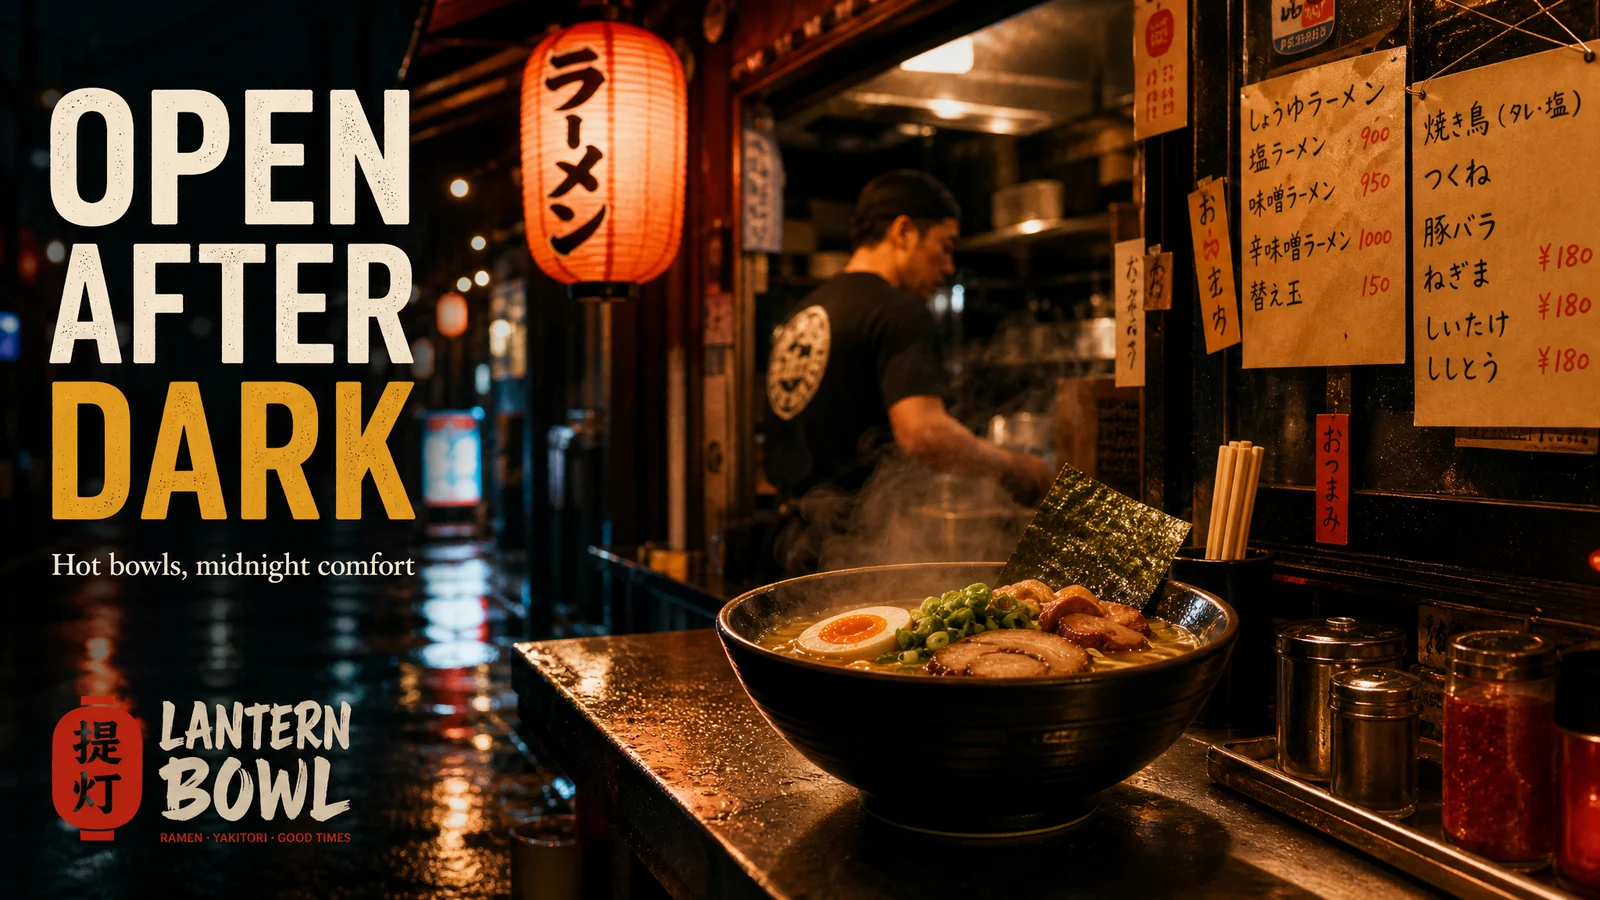
Create a square feed ad for a task-planning app. Show a phone with a calm daily schedule on a bright desk, with generous negative space and one benefit line: "PLAN YOUR DAY IN MINUTES". Use a mobile-first layout, crisp contrast, and friendly editorial styling. Do not add secondary copy or extra devices.
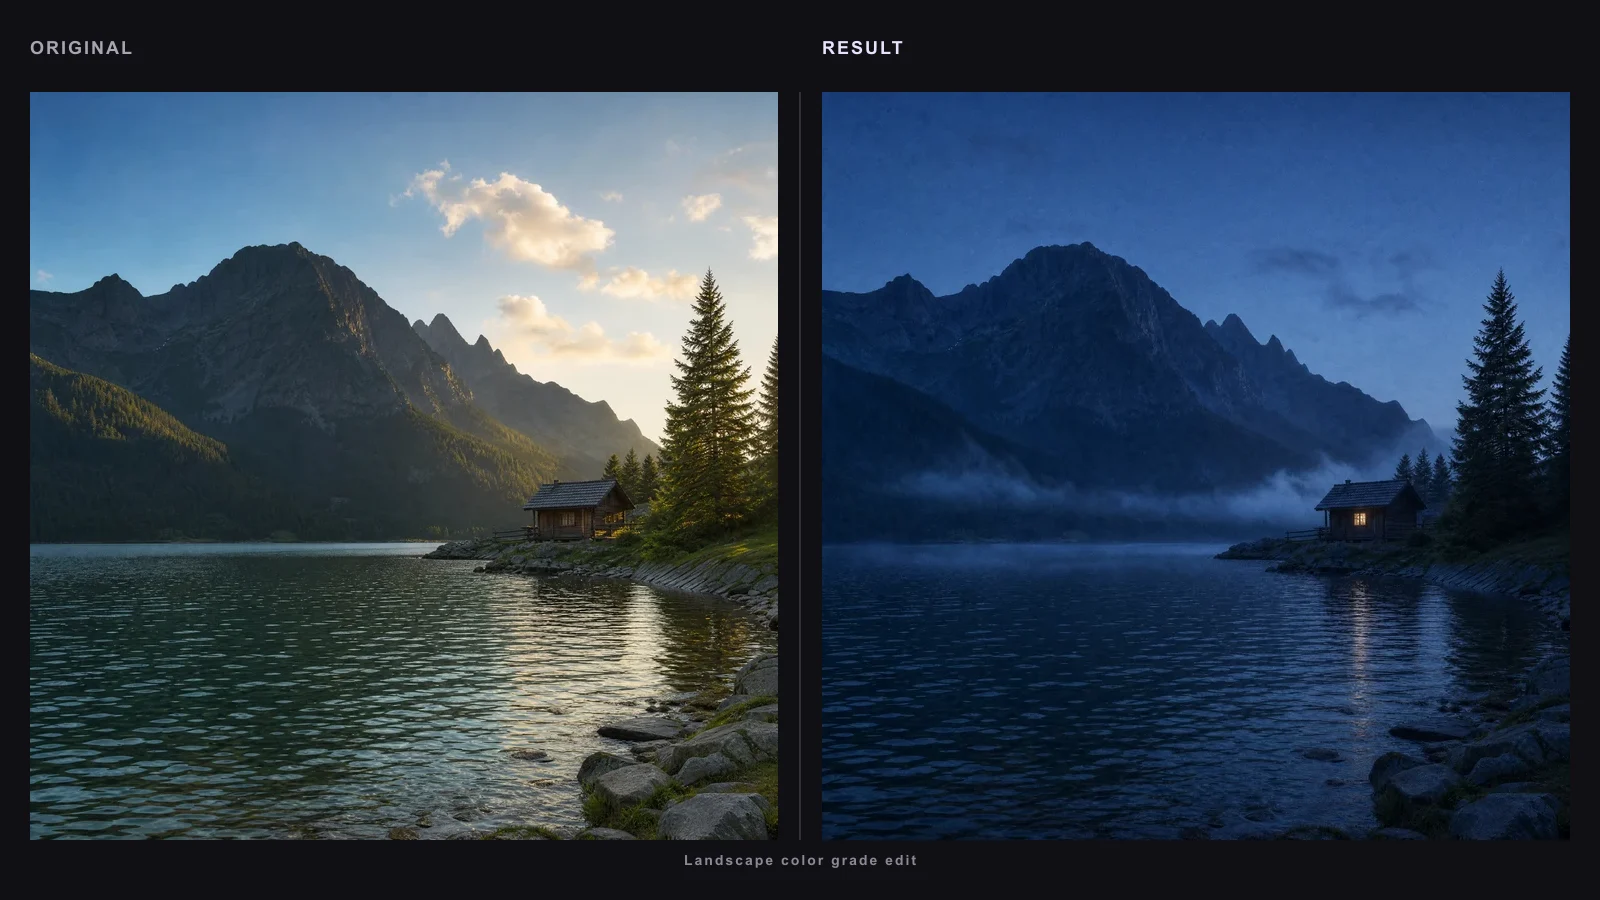
Use the uploaded product image as the source. Preserve the product silhouette, label placement, colors, camera angle, and proportions. Replace only the background with a quiet stone interior, soft daylight, natural shadow, and premium editorial styling. Do not redesign the packaging or add new text.
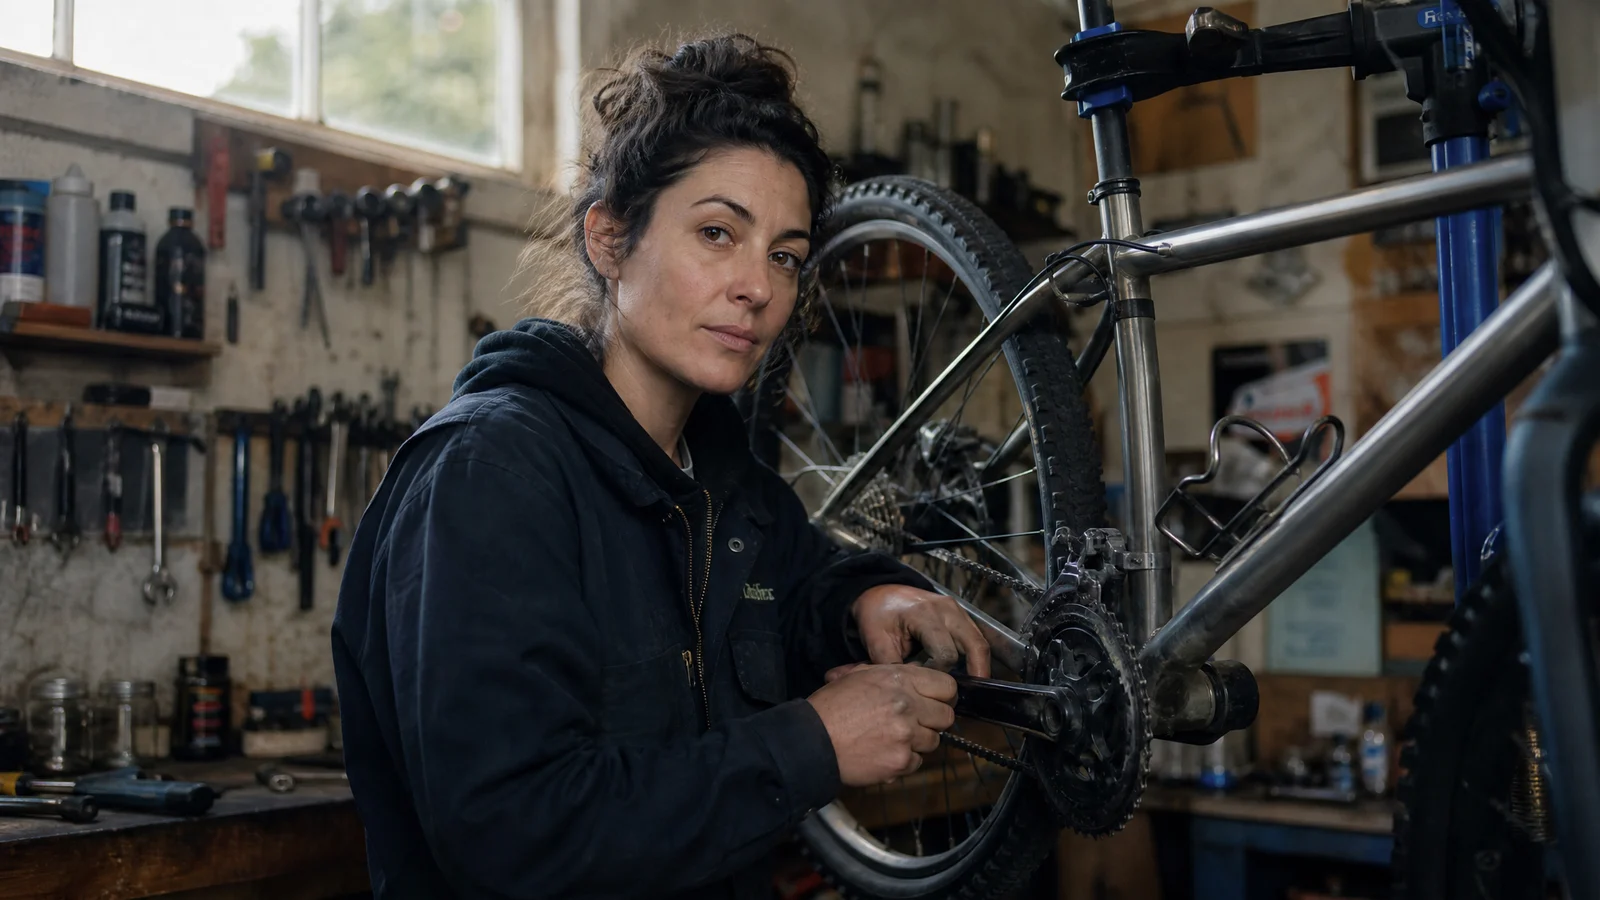
Create a marketplace image for a reusable bottle. Keep the bottle upright and centered, show its key material detail, use a neutral background and soft shadow, and leave room for a short feature label.
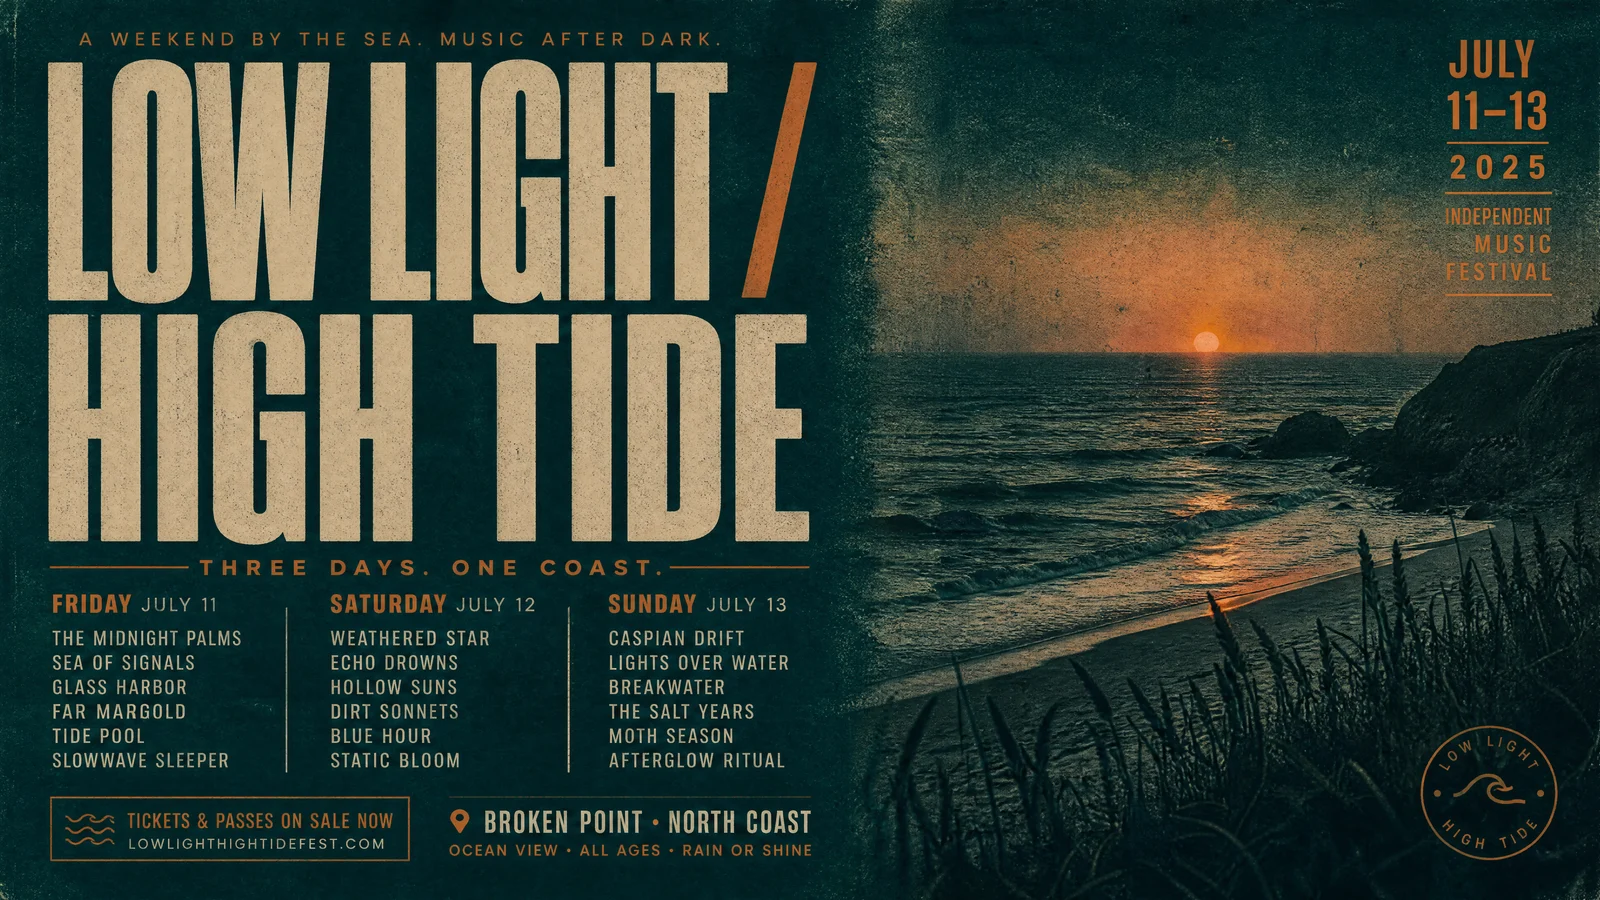
Create a clean analytics dashboard concept for a fictional SaaS product. Include navigation, three metrics, one line chart, readable labels, restrained color, and realistic interface spacing.
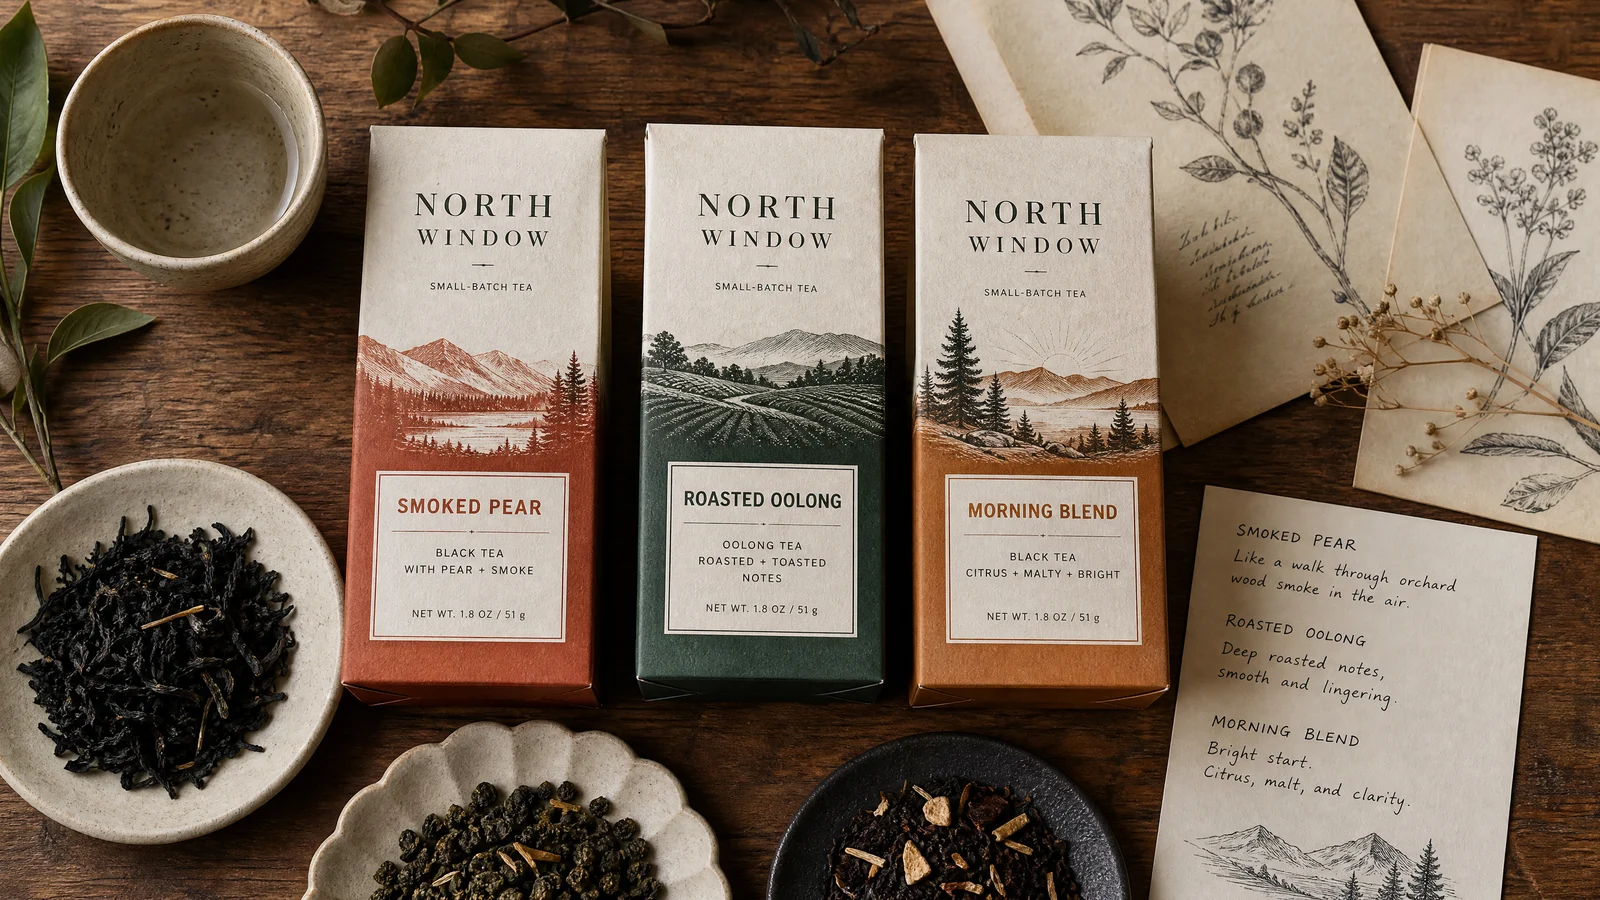
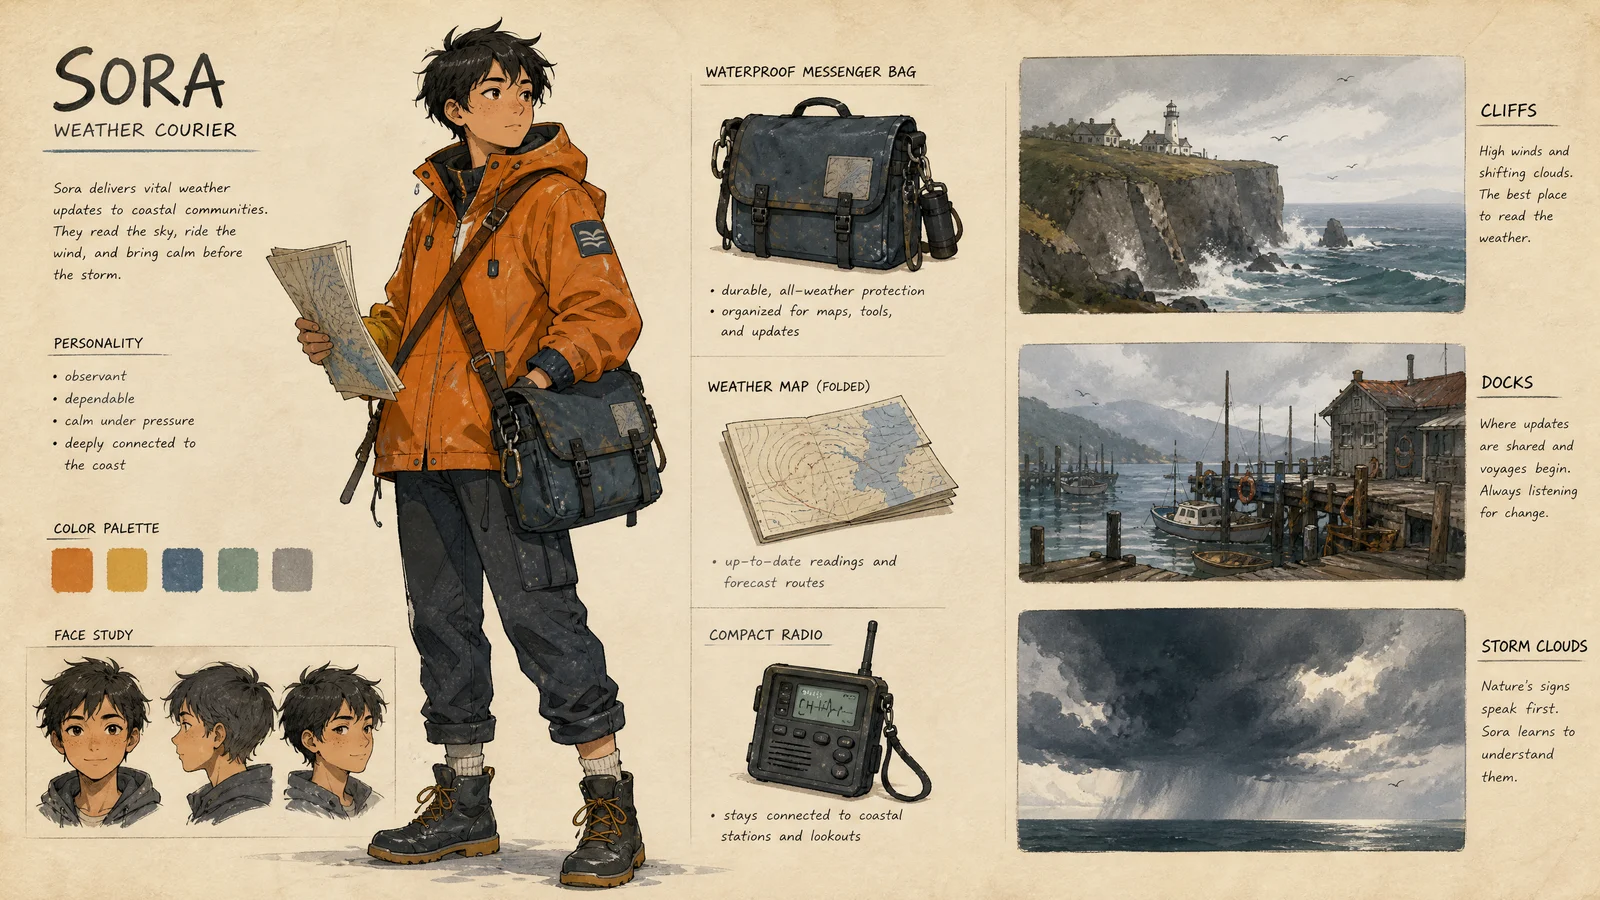
Create a character reference sheet for an original courier. Show front, side, and back views, two expressions, one prop, a small palette, and consistent clothing details across every panel.
Create a labeled infographic explaining how a solar panel system works. Show sunlight, cells, inverter, storage, and home power with short labels, clean spacing, and a classroom-friendly visual hierarchy.
There is no single best model for every image. Choose by the hardest part of the brief: text rendering, reference fidelity, structured layout, polished commercial finish, or iteration speed.
Start with the row that matches your main constraint. If the first result misses the brief, change the model only after you have checked the input and prompt.
Each example connects a useful starting input to a controllable output and a clear review criterion. Use the pattern that matches the asset you actually need to deliver.
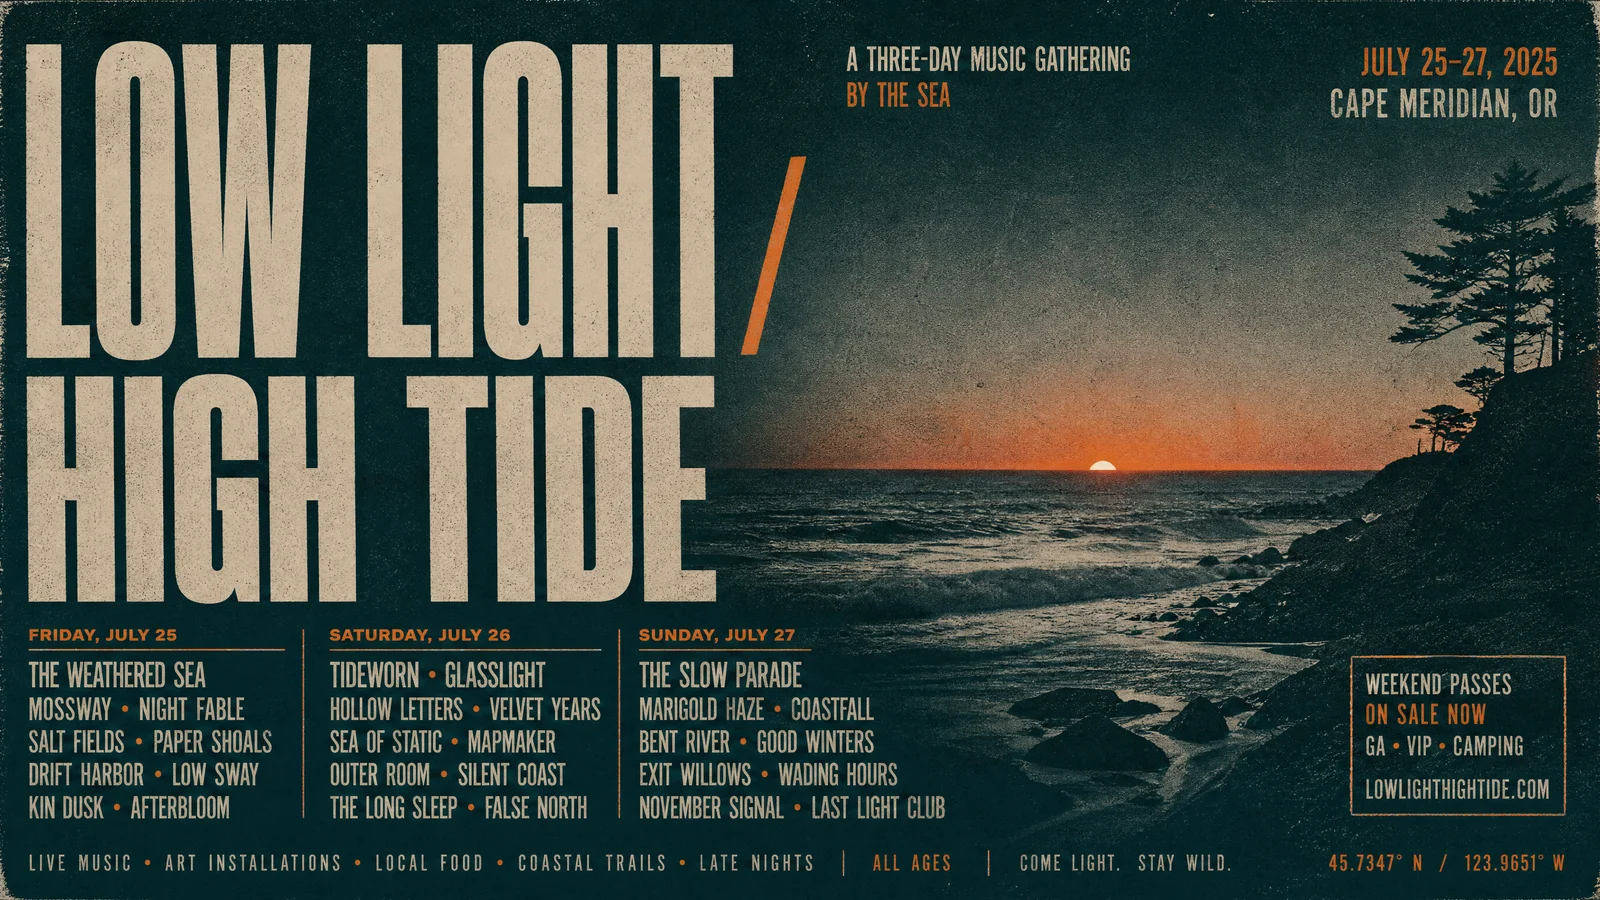
Start with the product, offer, headline, and placement. Control the hero angle, background, lighting, and copy area. The review criterion is whether the product remains accurate and the message reads at ad size.
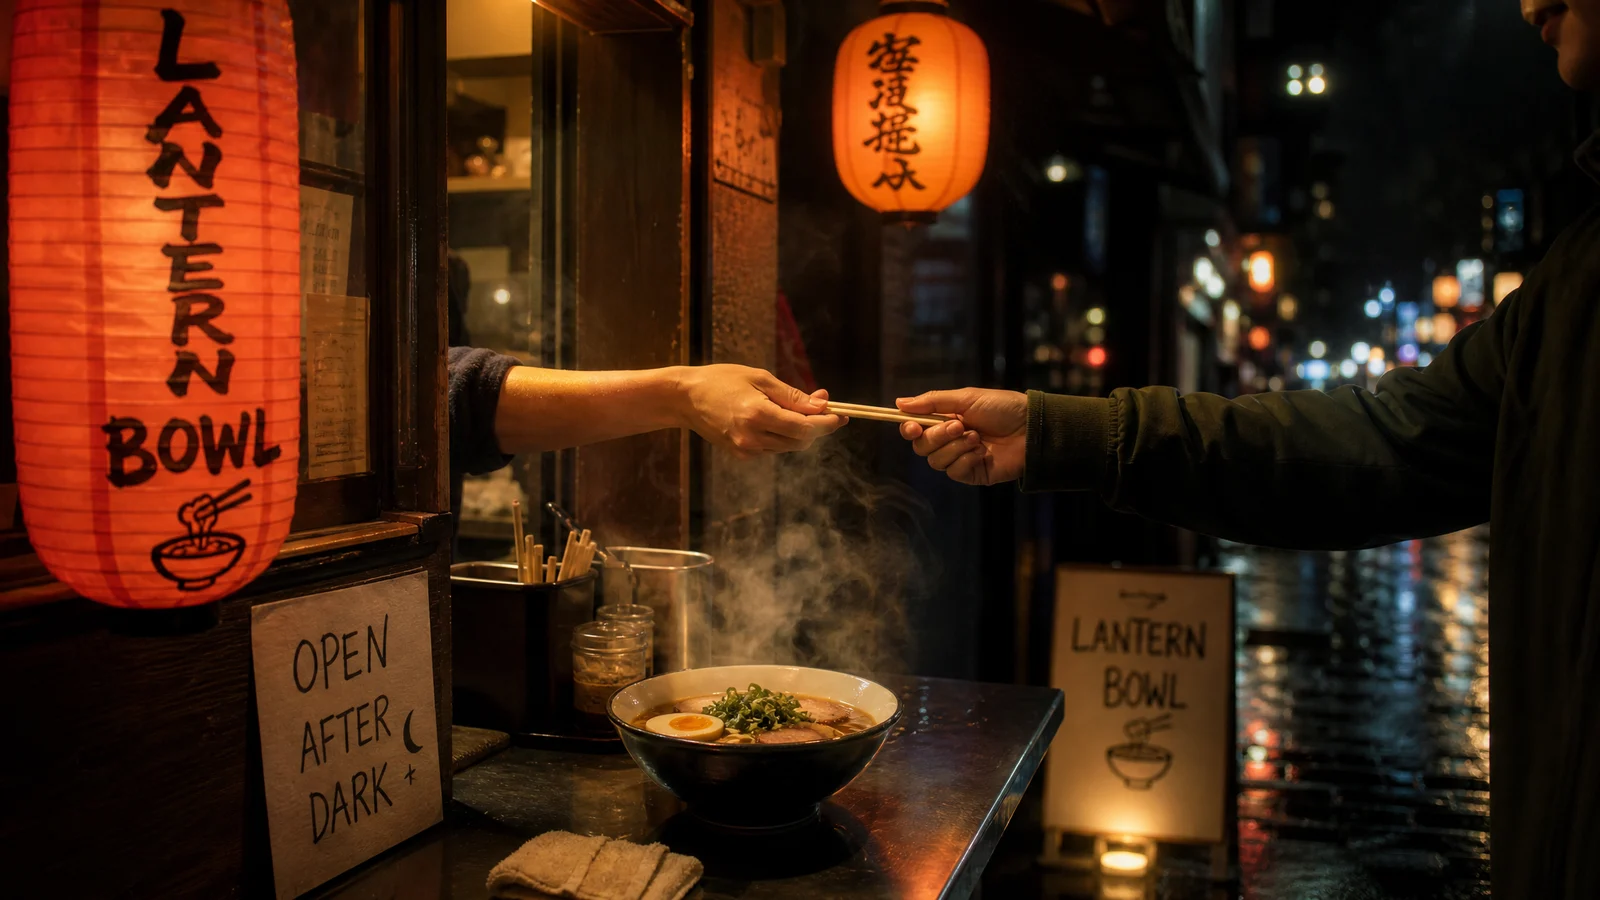
Start with the topic, one expressive subject, and a short title. Control foreground separation, contrast, and 16:9 framing. Review the result at thumbnail size rather than judging only the full image.
Start with the screen purpose and information hierarchy. Name the navigation, core metrics, primary chart, and required labels. Review spacing and legibility as a concept, not as production-ready interface code.
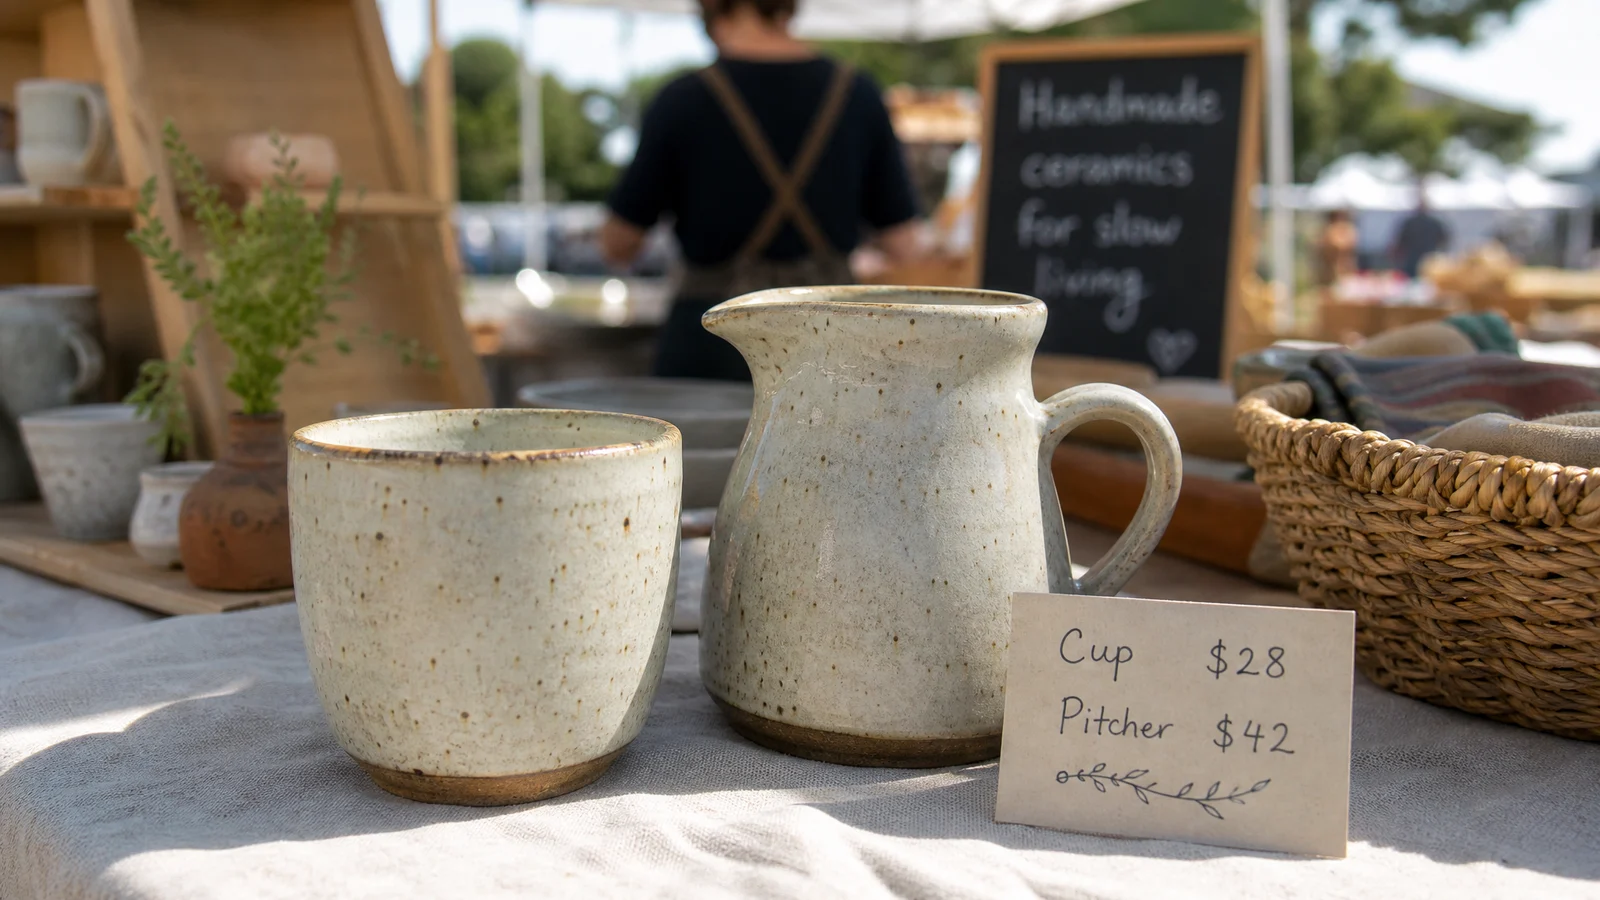
Start from a clean product reference and lock its silhouette, color, label, and angle. Change only the setting and light. Review the generated item side by side with the source before using it in a listing.
A polished image can still contain inaccurate text, altered products, inconsistent faces, or the wrong crop. Diagnose the failure first, then change one variable at a time instead of rewriting the entire prompt.
Shorten the copy, put the exact words in quotation marks, name their position, and choose a model with stronger text rendering. Verify every letter at the final display size.
Return to image to image, use a cleaner source, and repeat the details that must not change. Check faces, product silhouettes, labels, colors, and camera angle against the reference.
Describe spatial relationships instead of adding more style words. State what is centered, what sits behind it, where text belongs, and how much negative space the layout needs.
Generate for the destination rather than cropping afterward. Confirm aspect ratio, resolution, safe areas, brand requirements, usage rights, and platform rules before publishing.
Answers to the decisions that most often affect image quality: input mode, prompt structure, model choice, output format, revision, and final use.
Start with text when the scene can be invented from the brief. Upload a reference when a product, person, pose, layout, or visual direction must remain recognizable. For reference edits, say what must stay unchanged as clearly as you describe the change.
A reliable prompt names the asset type, subject, composition, visual treatment, lighting, exact text, destination format, and hard constraints. Put important requirements before optional style details.
Choose by the hardest requirement rather than the model name. Compare text rendering, reference capacity, editing control, supported resolution, aspect ratios, finish, and iteration speed for the current job.
The brief may contain competing instructions or too many secondary details. Keep the main subject and layout explicit, remove low-priority adjectives, and change one variable at a time so you can see which instruction affects the result.
Inspect spelling, numbers, faces, hands, logos, labels, product shape, edges, shadows, and reference fidelity. Then view the image at its intended size to catch unreadable text or a weak crop.
Treat the generated file as a draft until it passes accuracy, brand, rights, and platform checks. Review people, products, logos, claims, and copyrighted material before commercial use or public distribution.
Choose text or a reference image, select the model and format that fit the job, then generate, review, and download the result in one workspace.